How to orthorectify: A real-world example with Airbus WorldDEM4Ortho
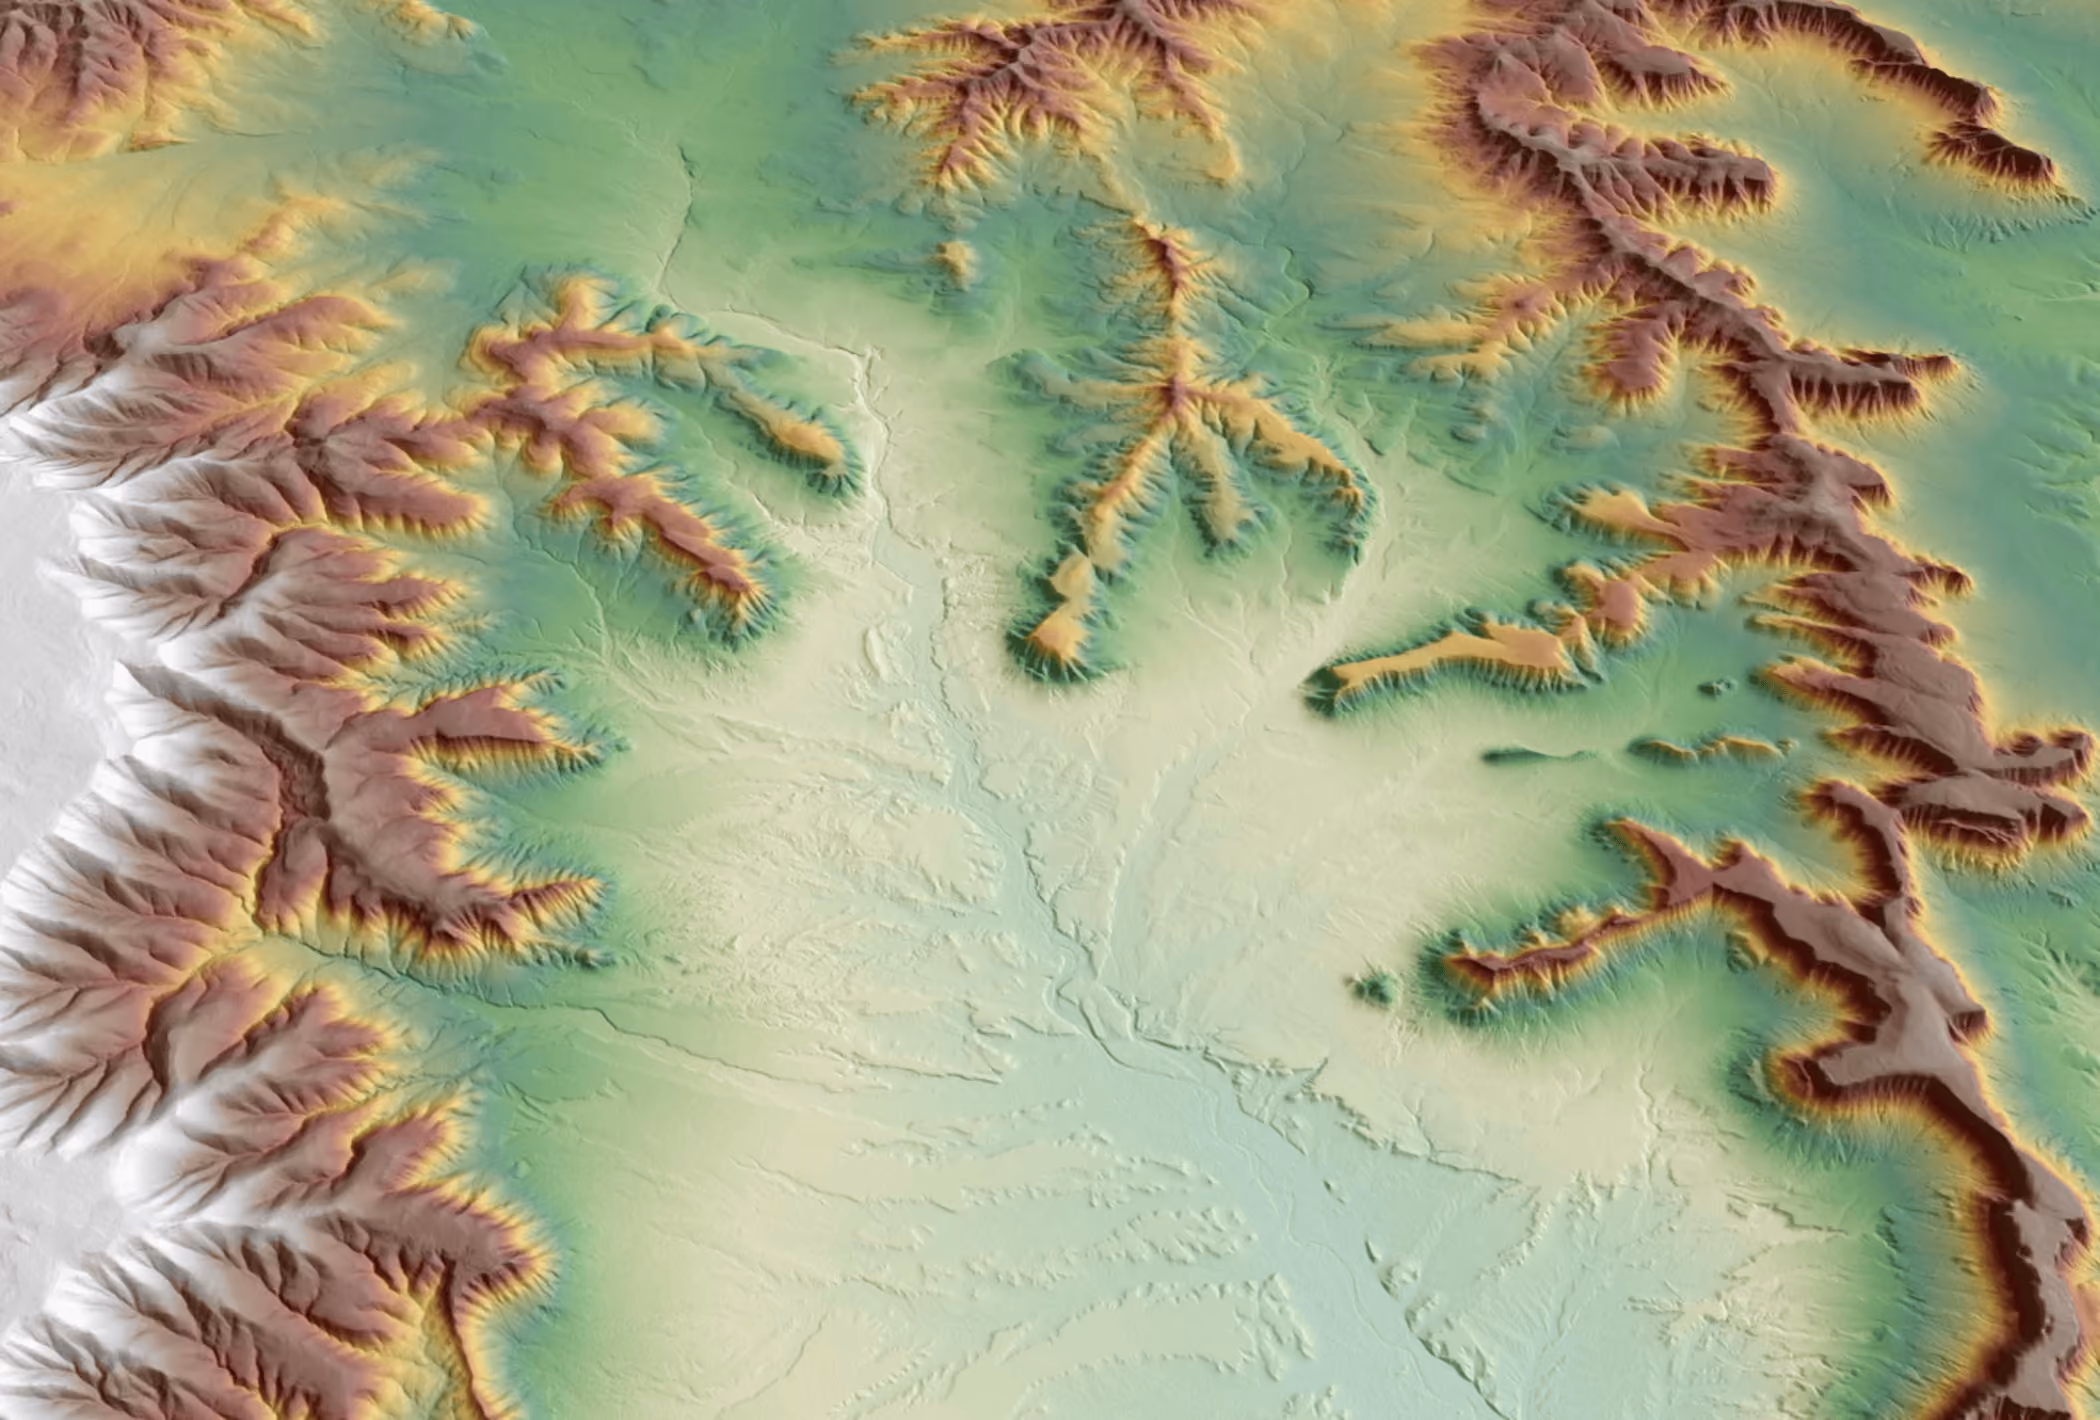
Last month, UP42 integrated a new Airbus elevation product into our extensive catalog called WorldDEM4Ortho. Similar to other WorldDEM products, this specialised hybrid Digital Elevation Model (DEM) was produced using data from SAR imaging using two Airbus sensors: TerraSAR-X and TanDEM-X. Unlike other WorldDEM products offered by UP42, WorldDEM4Ortho has a lower resolution (0.8 arc seconds or approximately 24 m) and is optimised for use in the orthorectification of high and very high resolution optical satellite images.
To this end, it is neither a true Digital Surface Model (DSM) or a true Digital Terrain Model (DTM), and instead it has elements of both. Superstructures like buildings in urban areas as well as small objects and smaller stands of trees are levelled down to approximate bare ground, similar to what would happen in a DTM. However, larger vegetated areas including forests and areas of bare soil are represented as DSMs with moderate smoothing. This format is designed to improve orthorectification accuracy.
What is orthorectification?
Orthorectification is the process of correcting aerial or satellite images to remove distortions caused by terrain relief, camera angle, and sensor geometry, so that the resulting image has a uniform scale and accurate geographic positioning. The final product is a geometrically corrected image (often called an orthophoto or orthomosaic) that can be used like a map, with precise measurements of distances, angles, and areas.
Practically speaking, satellite images, in some of their most raw formats (such as ‘Primary’ products offered by UP42) are provided in a format that is not georeferenced at the pixel scale may vary across the image. By orthorectifying the image, much more sophisticated analysis can be carried out, and the image can be more precisely georeferenced to a specific area of the planet.
Walkthrough: Using WorldDEM4Ortho for the orthorectification of a Pléiades Neo image
Let’s say you have a Primary level image that you want to georeference and orthorectify. The first thing you will need to do is take a look at some of the non-image metadata files provided alongside your satellite image. Taking one of our sample Pléiades Neo images as an example, when downloaded, we can see a number of .xml metadata files.
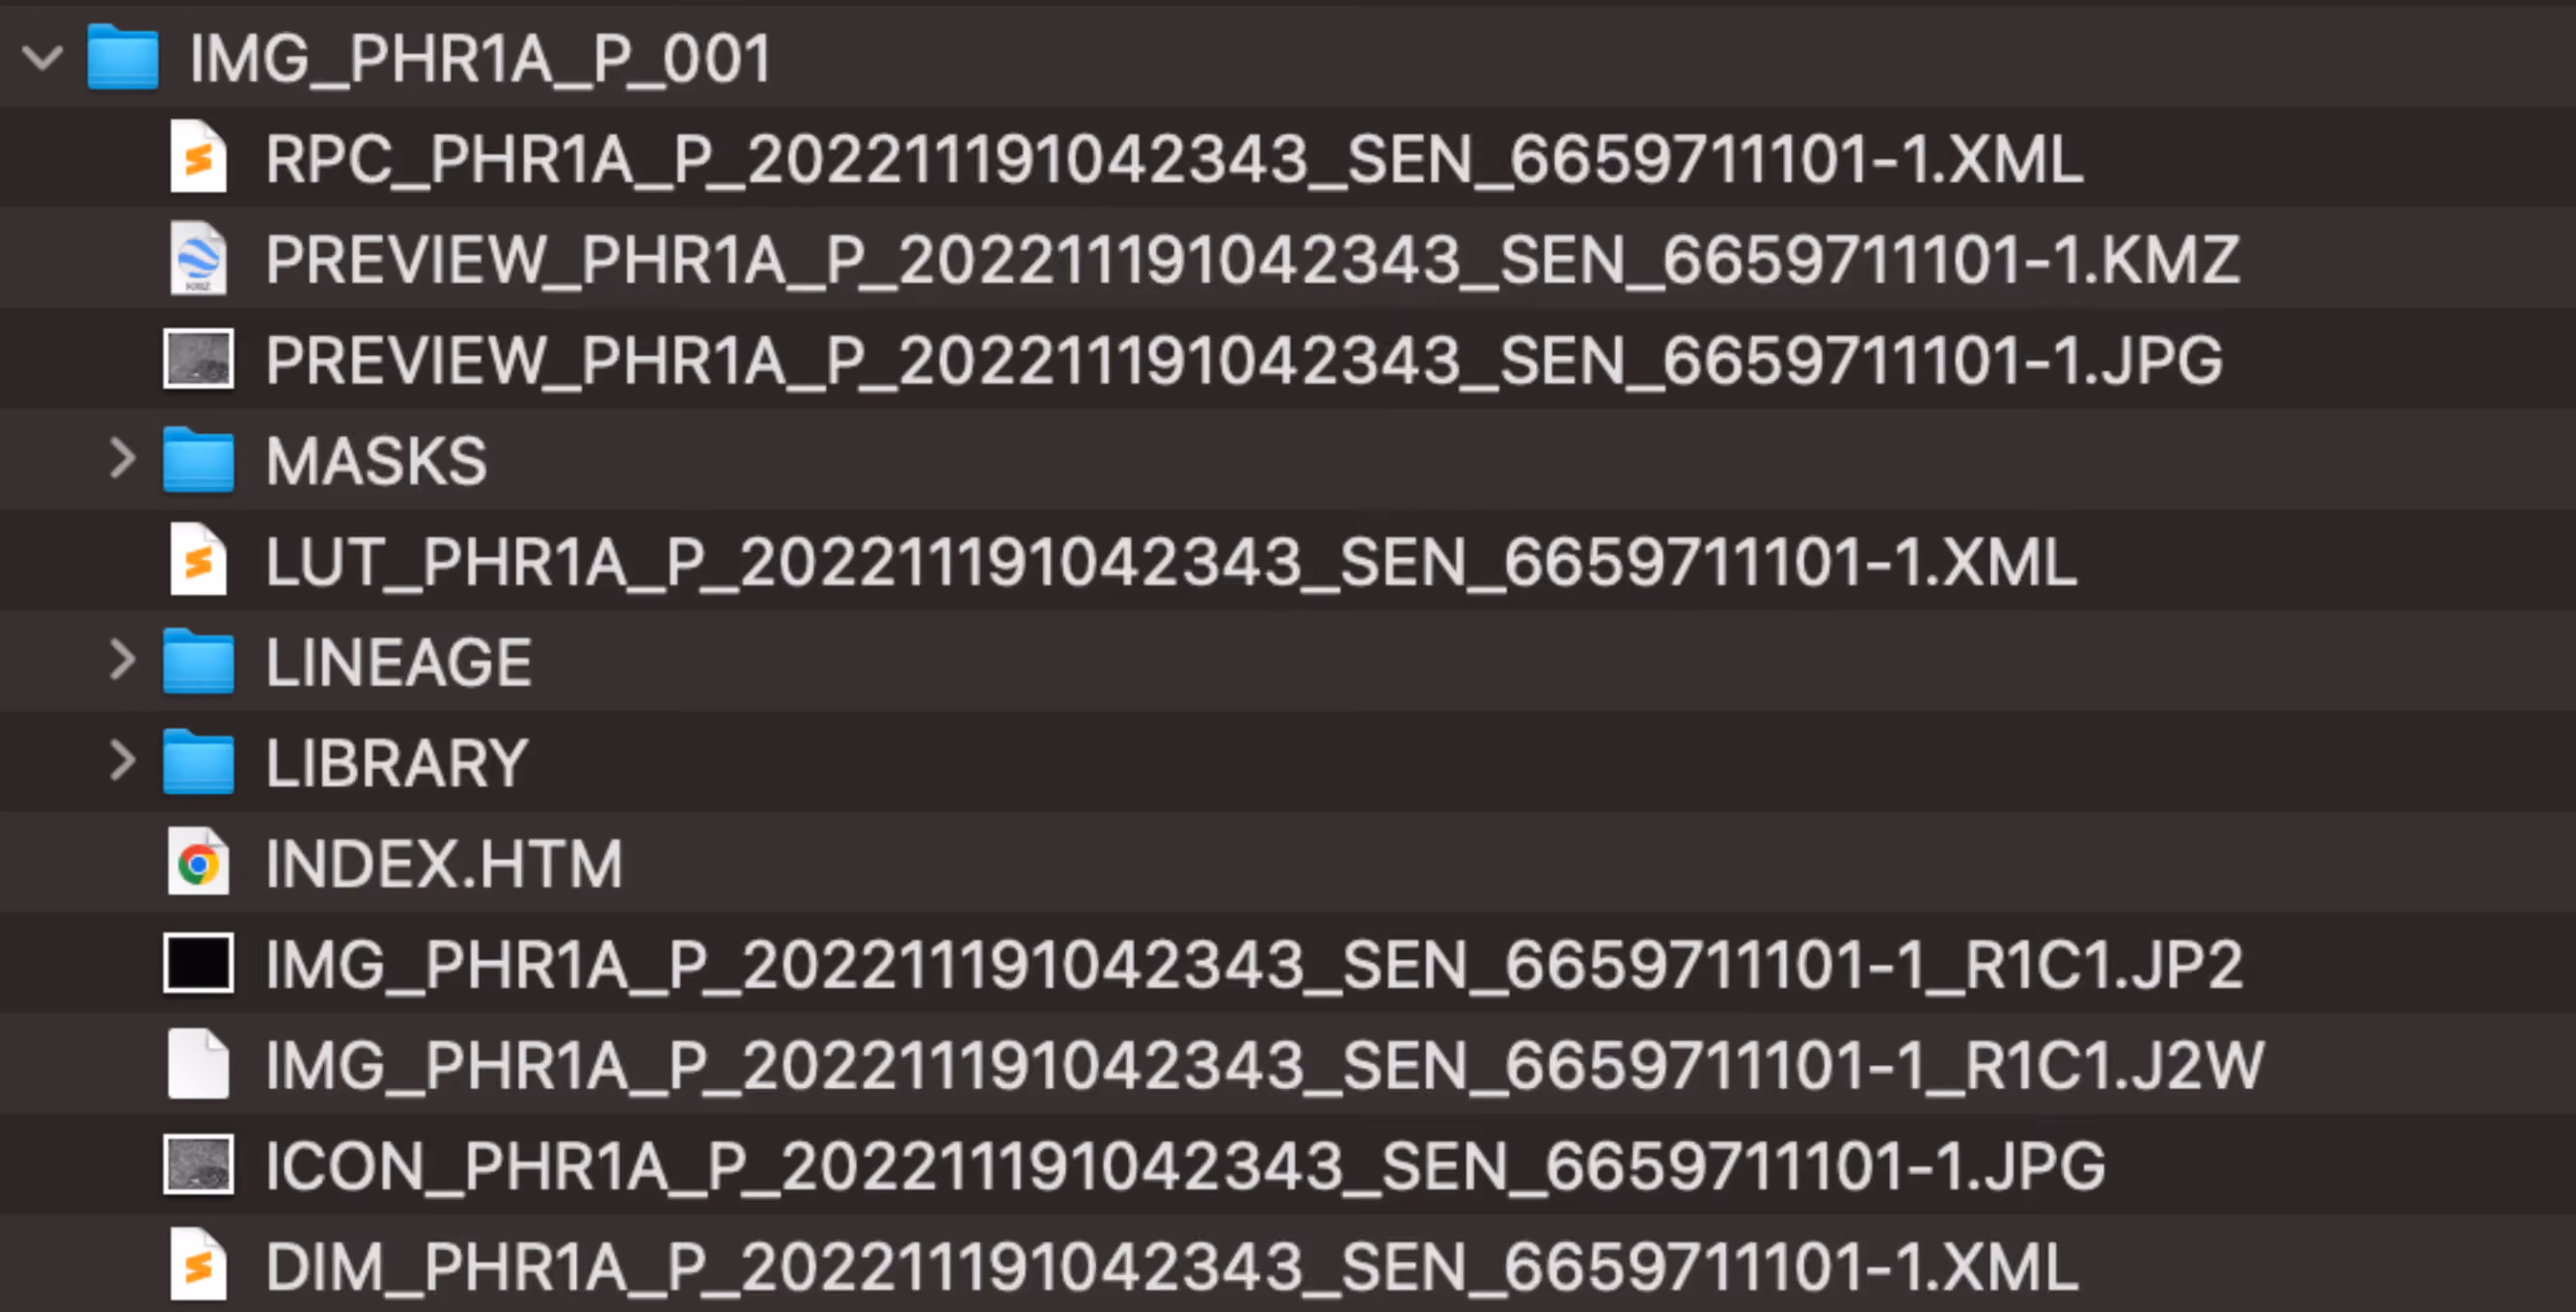
The file that begins with DIM can be opened to obtain a rough bounding box that represents the four corners of the image. These parameters can loaded from the file, transformed into a polygon and then saved as a GeoJSON file using the following Python code:
import xml.etree.ElementTree as ET

def build_polygon_from_corners(xml_path, geojson_outpath):

   tree = ET.parse(xml_path)

   root = tree.getroot()

   vertices = root.findall(".//Vertex")

   corners = []

   for v in vertices:

       lon = float(v.find("LON").text)

       lat = float(v.find("LAT").text)

       corners.append((lon, lat))

   polygon_geom = Polygon([corners[0],corners[1],corners[2],corners[3],corners[0]])

   polygon_gdf = gpd.GeoDataFrame(geometry = [polygon_geom], crs = 4326)

   polygon_gdf.to_file(geojson_outpath)
This GeoJSON polygon can then be loaded into the UP42 console, and a search can be run for WorldDEM4Ortho. Once the product has been found, it can be purchased and downloaded in a matter of minutes. After the DEM is downloaded, extract it, and take note of the filepath to which it is saved.
With all the files required for the orthorectification obtained, you can use GDAL on the command line to orthorectify the image with the following short shell commands:
cd path\to\image\delivery\directory

gdalwarp IMG_PHR1A_P_202211191042343_SEN_6659711101-1_R1C1.JP2 \

        path/to/orthorectified_output.tif \

        -rpc \

        -to RPC_DEM=/path/to/worlddem4ortho_file.tiff \

        -t_srs EPSG:4326
It is important to note that the ‘gdalwarp’ command must be run from within the directory containing the image delivery, including the metadata files. Specifically, it needs to find the RPC XML file in order to properly complete the command.
And with that simple process you have a georeferenced and orthorectified output image!

Subscribe to our newsletter
Stay up to date and learn about our fast-growing new features
